DIT114 Git Tutorial
Some info
This post is dedicated to DIT114 @ University of Gothenburg
DIT114 Git Tutorial
Links
What is Git?
“git” can mean anything, depending on your mood.

Installing Git
Please refer to git-scm.com for installation instructions.
Installing Git via a Package Manager
Windows
You can install Git via Chocolatey on Windows.
MacOS
There is a high chance that you already have Git installed. Try running this command to check:
git --version
If Git is not installed, you can install it via Homebrew using the command below.
brew install git
Linux
Check what package manager your distro is using.
Recommendations
Since Windows is not a UNIX-related system, we recommend Windows users to use bash shell that comes included with the Git installation.
MacOS and Linux users can use their terminal of choice, since both systems are UNIX or UNIX-like.
Configuring Git (and GitLab)
To configure your username and email for all local repositories use these commands:
git config --global user.name "kamil" # set your git name to "kamil"
git config --global user.email "kamil@example.com" # set your git email to "kamil@example.com"
git config --global color.ui auto # extra config command to make stuff more readable
git config --global core.editor "nano" # set the default editor for git to nano (or whatever text editor you like)
It is very important to set up your name and email correctly! These settings are used by services like GitHub and GitLab to track your contributions correctly.
Please either use your ChalmersID or if you want to use another email, go to your GitLab settings panel, and set up your email as the commit email.
Then you can create an empty repository on GitLab and check if GitLab is tracking your commits correctly (i.e. if clicking on your name in the commit view moves you to your profile).
To check your global git config use this command:
git config --global --list
On GitLab, go to profile and check what is your Commit Email — it has to match the email address you use with Git.

Using Git
Initializing Local Git Repository
- First we will create a local Git repository on our computer.
- To do this, open your terminal of choice (for Mac users I recommend iTerm2 or Kitty (both can be installed with Homebrew).
- Use
mkdirto create a new directory (folder),cdto change directory to your newly created one, andgit initto initialize git repository.

- Use
touchcommand to create a new file (touch readme.md). - You can use
lsto list files in the current working directory.
- I will edit the newly created
readme.mdfile using my preferred text editor. I will add hello word! and save the changes.
- I edited the file in vim using
nvim readme.mdcommand (you can usenano, VS Code, etc.). - Then I use
git statusto see the current status of the repository. As you can see on the attached image below, it tells me that I am on branch ‘main’, that there are no commits yet, and that there is one untracked file on the branch. - Untracked files are files that Git will not include in our repository.
Git statuscommand suggests usinggit addto start tracking files. Let’s do that!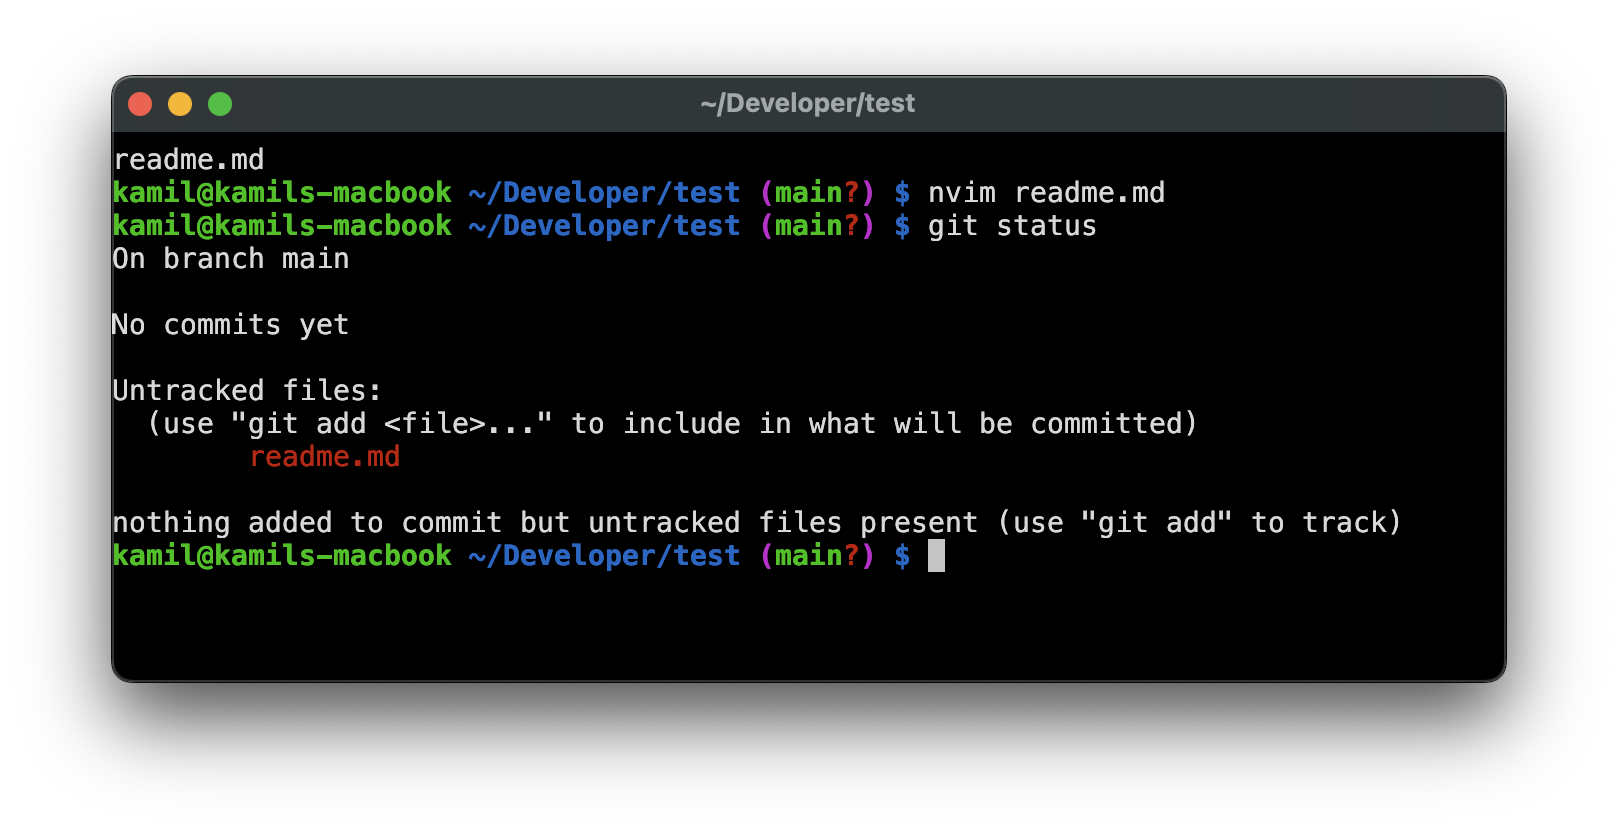
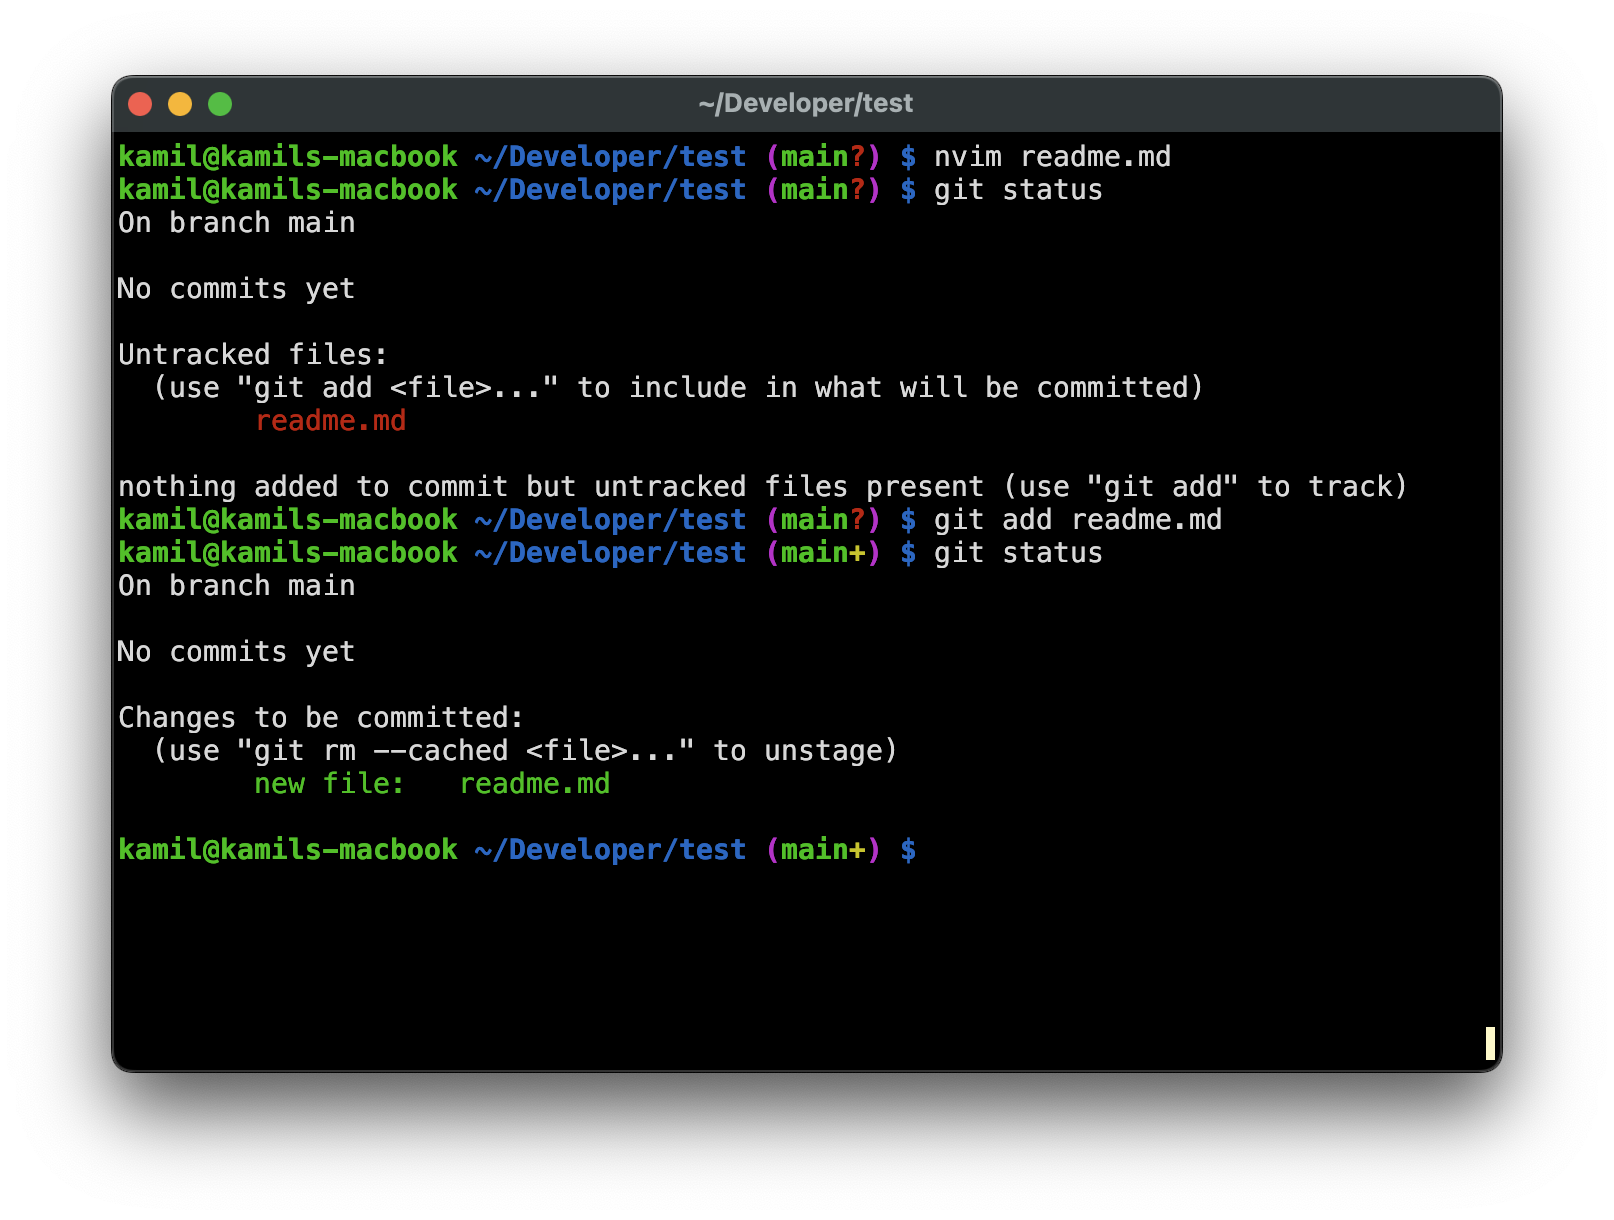
- I use
git add readme.mdto addreadme.mdfile to be tracked. - Now when I type in
git status, it will tell me thatreadme.mdis tracked. - From now on, Git will include that file in the repository.
Committing
- Now let’s commit our file (i.e. save a version of that file).
- Sounds familiar? I know it does.
- “submission.pdf”,
- “copy of submission final.pdf”,
- “copy of copy of submission final this one.pdf”,
- “copy of copy of copy of submission final this one is the correct one”
- Committing in Git is exactly that, but Git manages the versioning for you.
 xkcd.com/1296
Committing Files
- Use
git commit -m "commit message goes here"to commit the tracked files.
- Use
git logto see the log of commits. - Each commit has a hash, that acts as a unique identifier.

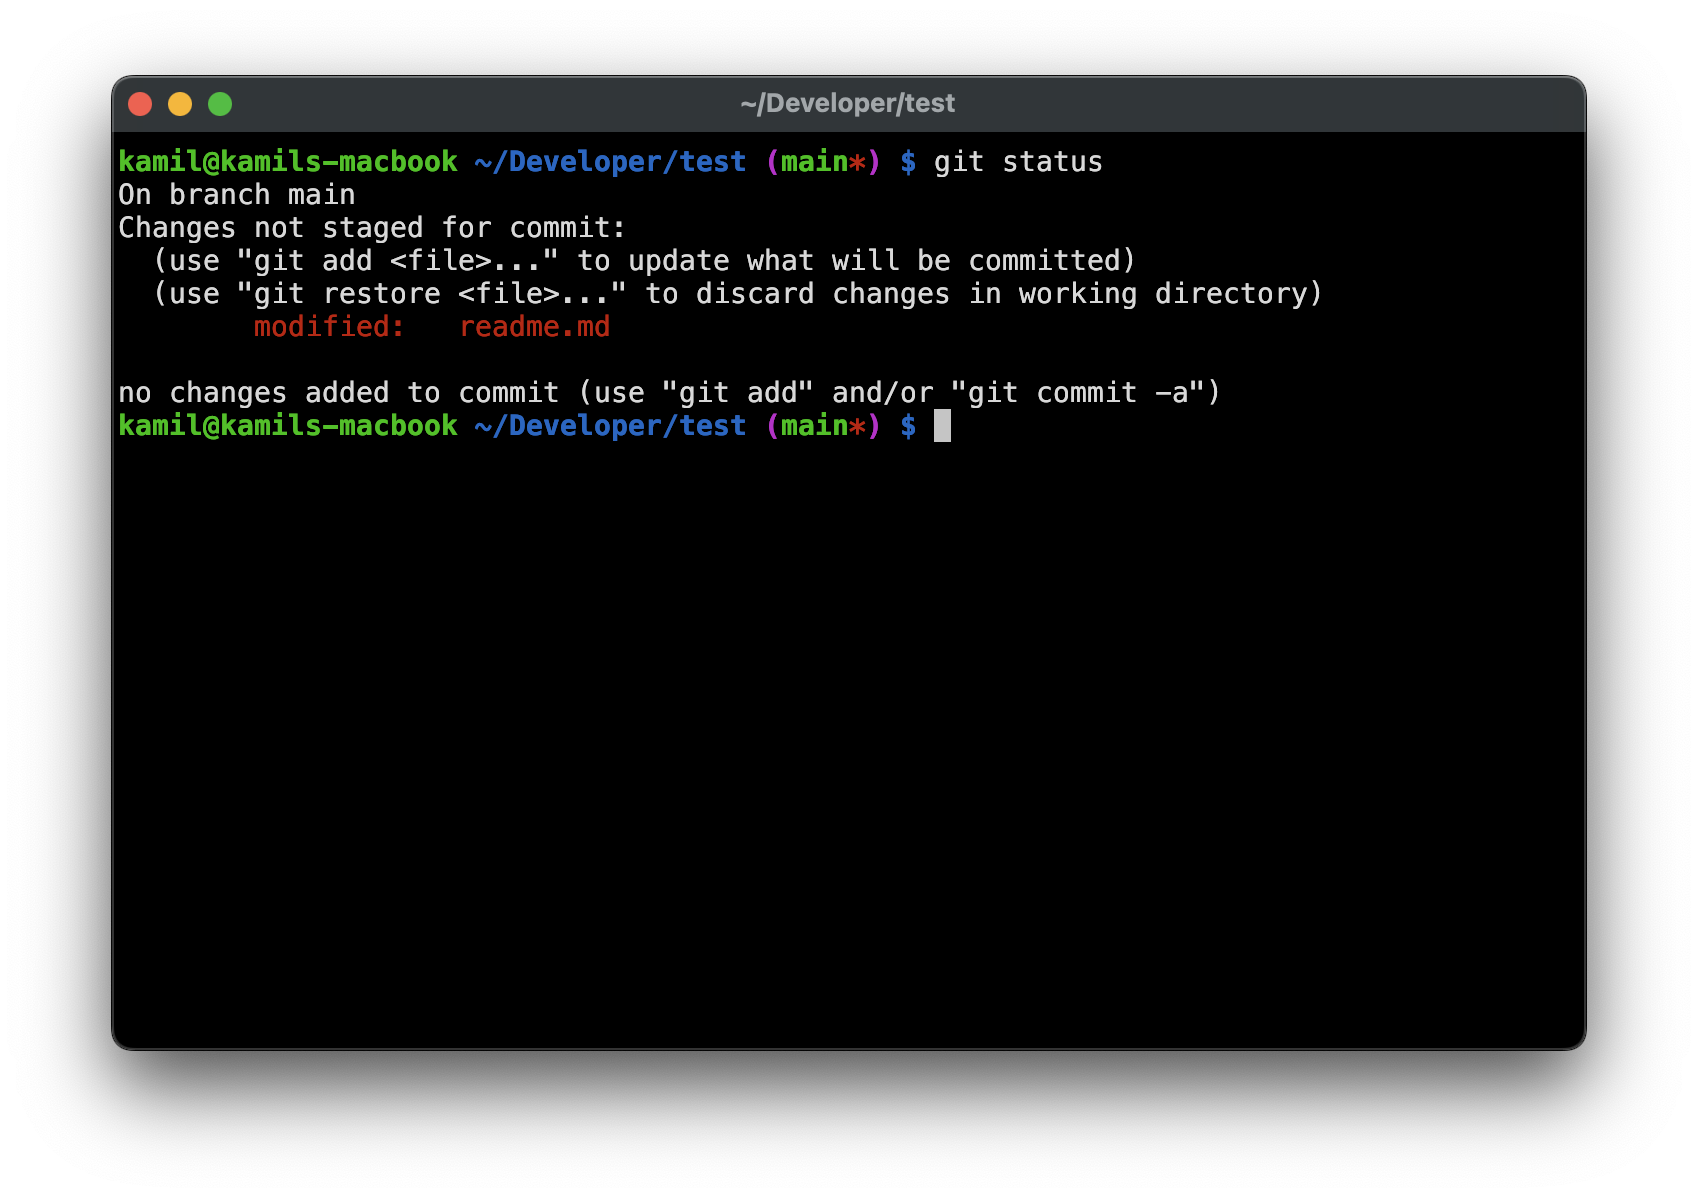
- Now let’s change the file again. I will change line 3 to “I love DIT114” and save the file.

- I use
git statusto check the status.
- And
git add .to add all files to be tracked (.— current working directory). - Then I
git statusagain to see what files are tracked. - Then I use
git committo commit my changes.
- Use
git logto see the commit log.
- Then use
git diff <hash> <hash>to compare two commits (the order of hashes matters!)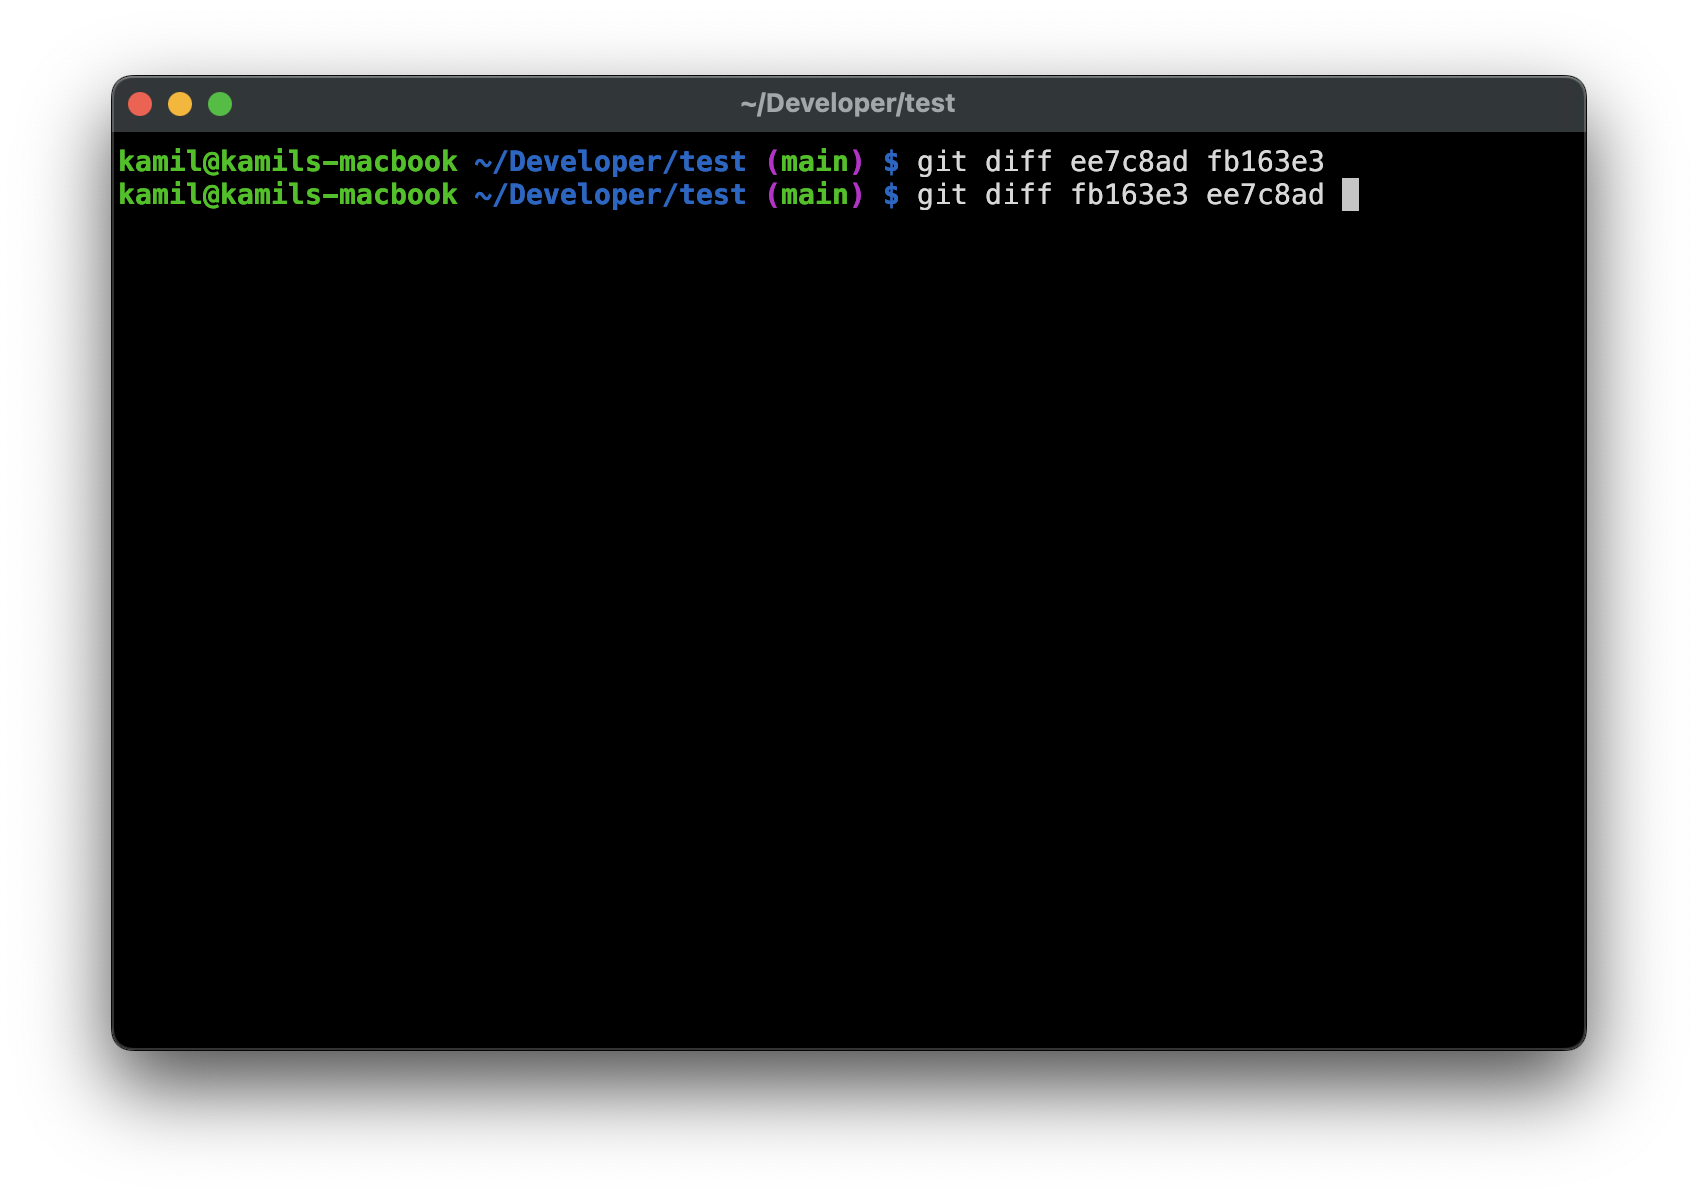
git diff ee7c8ad fb163e3(bad)
git diff fb163e3 ee7c8ad(good)
Connecting to a Remote
What is a Remote?
- Git is like email, it is a technology, protocol.
- A Local is your local repository, so files on your computer.
- A Remote is like Google Drive, iCloud, OneDrive, etc.
- In our case the Remote is GitLab.
Pushing to a Remote
- First you need to tell Git that it should upload your files to your remote.
- Tip: If you create an empty repository on GitLab or GitHub, there is a tutorial how to connect a remote.

- Connecting to a remote is easy. Use
git remote add origin <remote address>. - You can get the address of the remote, from the repo. Go to the repo, and click “code” and copy the address.
- Alternatively, you can use
git clone <remote address>to ‘download’ the remote to your computer (more common than initializing repos locally first).
- Now Git knows what my remote is.
- Use
git push --set-upstream origin mainto push your committed changes. - After that, you don’t have to type in
--set-upstream..., just usegit push.
Common Problems
Pulling Remote and Sync Conflicts
- Let’s edit our file on the remote. I will change the 3rd line to something different.

- Now committing it…

- And done!

- I open the file on my computer and… no changes! What happened?

- Well, we need to
pullthe changes from the remote to the local repo. - Use
git pullto do that.
- And now our local is in sync with the remote.

- And if I open the file, the changes are there.

Merge Conflicts
- Let’s edit the file on the remote again.
- I will change the 3rd line one more time.

- Committing…

- And now I will change the same file and the same line on my local, without pulling the remote first.

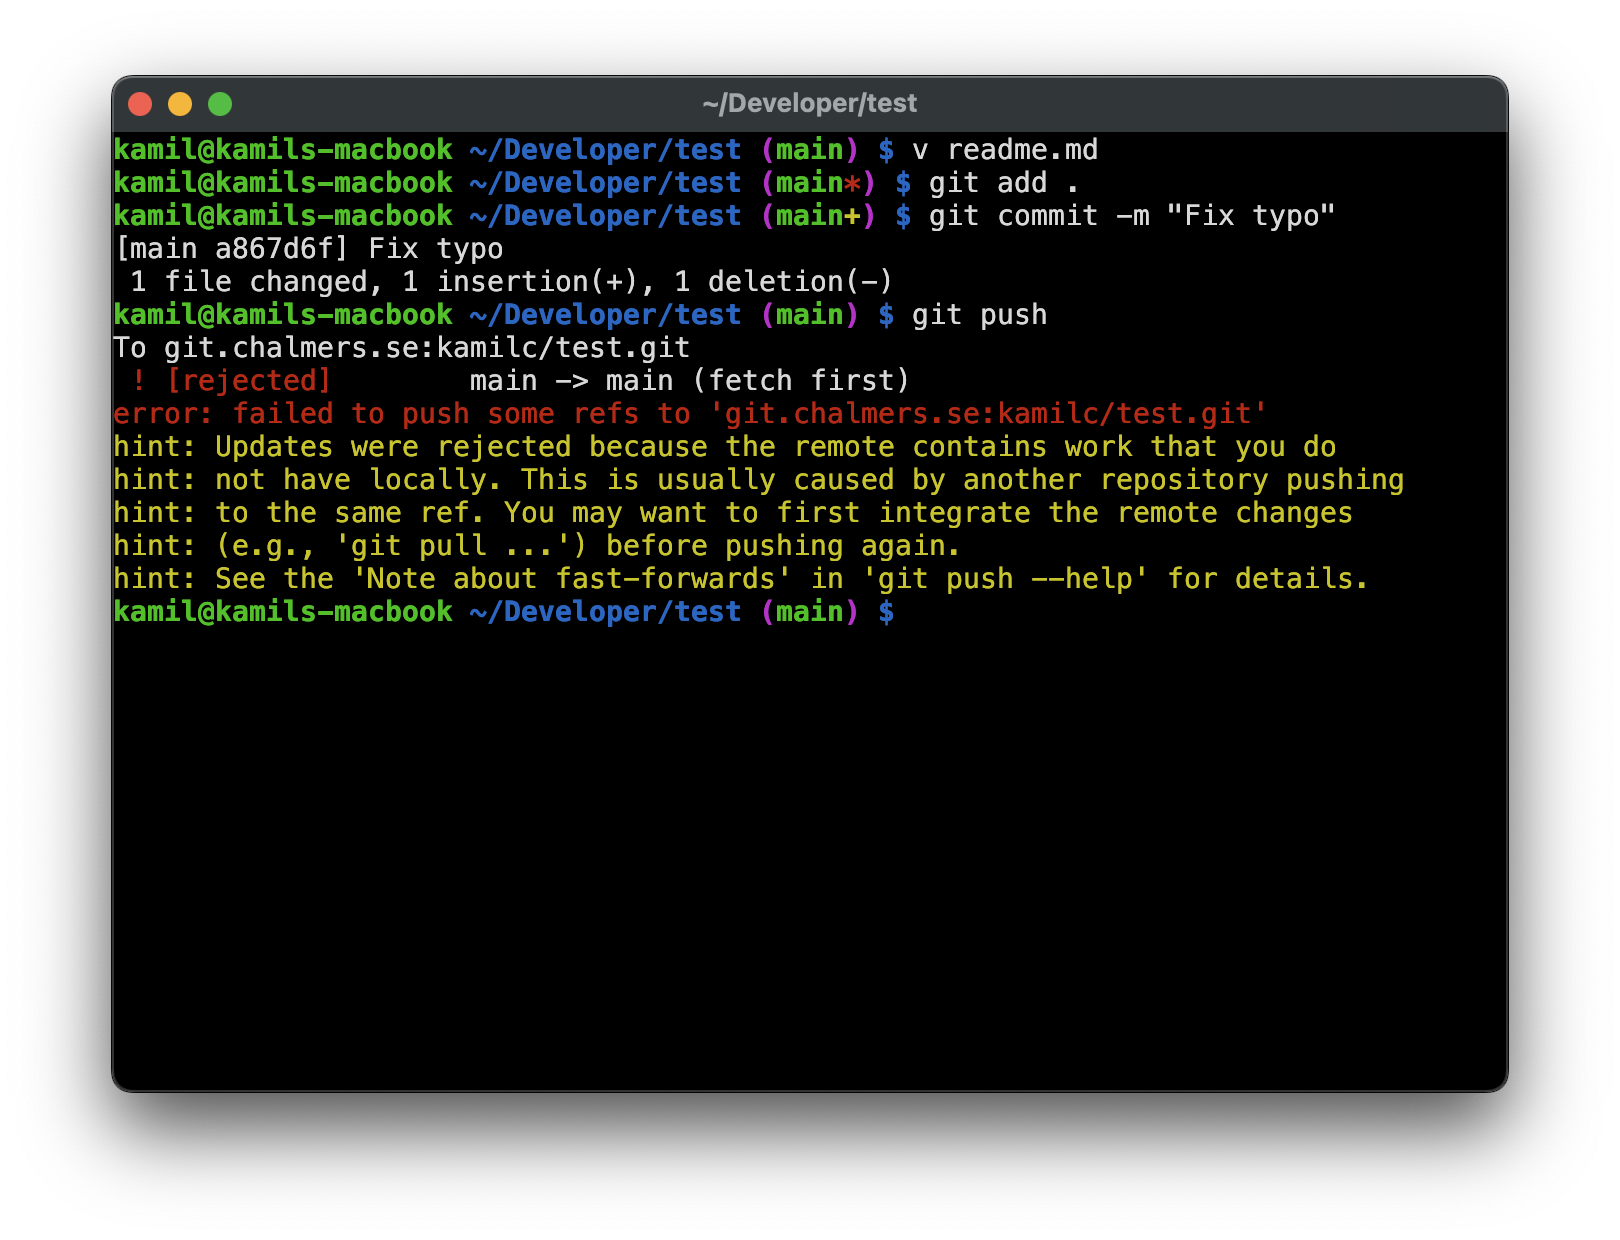
- I add and commit my changes, and I try to push it.
- Whoops! What is happening? Scary!
- We have a conflict. The file was edited on the same line, both on the remote and local, and now Git does not know which change is the correct one.
- Ok. Let’s try pulling the remote…
- Git explains what is happening and suggests actions that we can take.
- I will go with the first one
git config pull.rebase false, which will result in a merge request between the two versions of the file. - This way, I can see both changes and decide what the merged file should include.
- How should I know which option to pick? It all depends on the developer preference and the situation.

- I tell Git what to do and pull again. Now it created a merge conflict that I have to resolve.

-
I will use Visual Studio Code to resolve the conflict. You can use
code .command to open the current working directory in VSCode.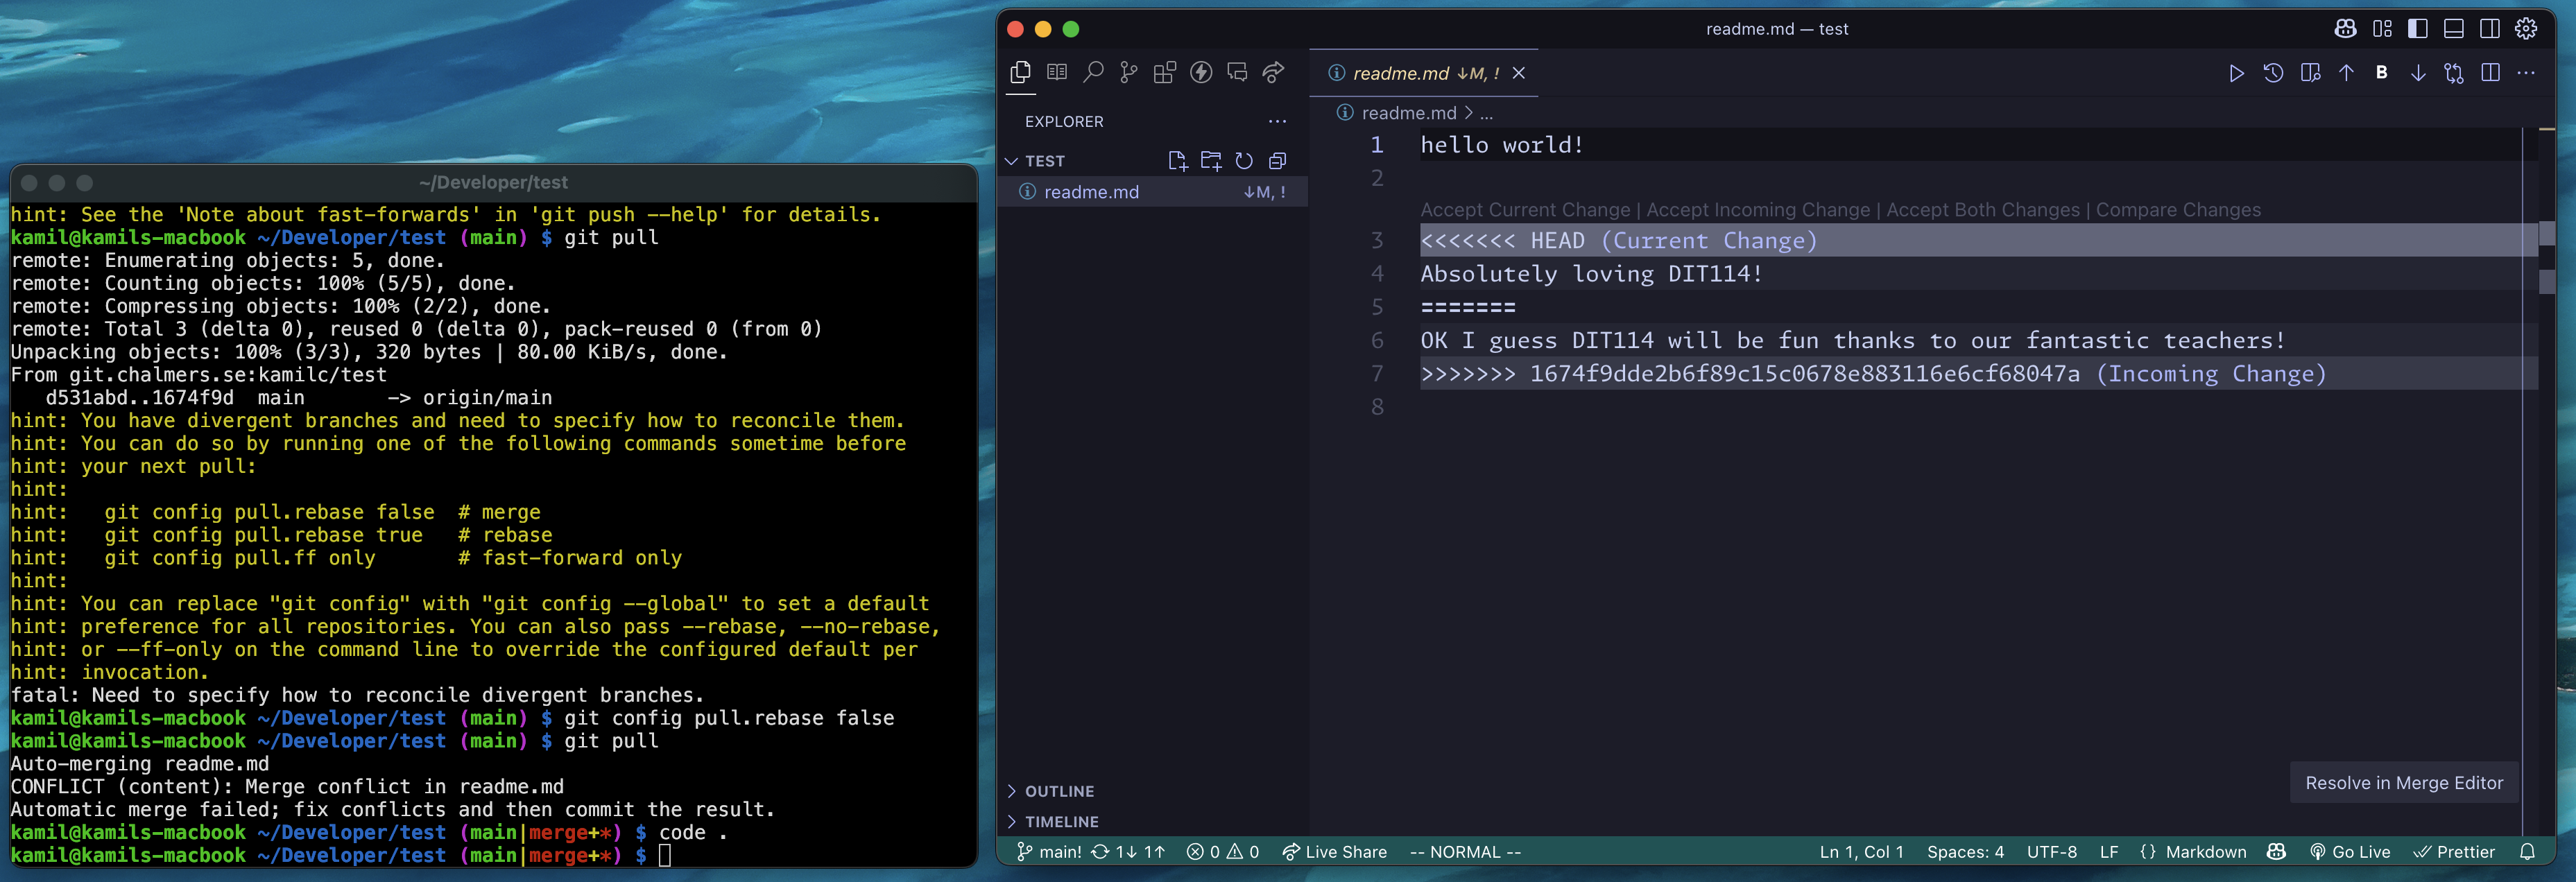
- Resolving conflicts in the Merge Conflict Manager.

- Committing the changes…

- Now I can push to remote.

- And it is pushed!

Branching
Will help you avoid the aforementioned issues.
- Use
git branch <branch-name>to create a branch. The branch will be created from the current active branch you’re on. - Use
git checkout <branch-name>to switch to a branch.
- I edit the file on the newly created branch.

- Then, I add and commit my changes, and push it to the remote.

- Git tells me that I can create a new merge (a.k.a pull request).
- A merge requests is when you join one branch into another (e.g. feature —> main).
- It is a common practice to ‘delete’ a feature branch after it is merged.
- We usually merge a feature branch to a develop branch, and develop to main.
- You can merge branches locally, and then push the changes to the remote, but we recommend using GitLab for it.

- And it is merged.

- Don’t forget to pull the changes from the remote to your local repository and switch the branch.

- And that is all!
- At the top of this page I leave additional resources about Git.
- The best way to learn, is to practice. Create a test repository on your GitLab and try out the above steps yourself.