How to install MySQL with Docker and connect to it with TablePlus, so you don’t have to use that MySQL terminal you probably despise?
First, you have to have Docker installed. Check if you have it installed with this command:
docker --version
If you see something like “Docker version 27.2.0”, you’re good to go. If you don’t, install Docker first.
Next step — getting docker image.
Go to your preferred terminal of choice, and type:
docker pull mysql
This is gonna pull the latest version of the Docker image.
Then you type:
docker run --name my-mysql -e MYSQL_ROOT_PASSWORD=password -p 3306:3306 -d mysql
What does this do?
docker run → start a new docker container
name my-mysql → name the new container “my-mysql”
-e MYSQL_ROOT_PASSWORD=password → set the environment variable with your password (otherwise the password is gonna be random)
-p 3306:3306 → map port 3306 on your computer to port 3306 on the docker (basically everything that goes to port 3306 on your machine will be redirected to port 3306 to the docker and vice versa)
-d → run the command “detached” (so in the background)mysql → use mysql image for the container
Okay, our container is created and running. Now what?
Run docker ps to see all of the running containers. (ps stands for process status btw)
Now about TablePlus. So, what is it? Don’t worry about it. Just download it from here and you will see:
TablePlus Official Website
Once you have it installed on your machine, open it and follow the pictures:
 Click the plus first.
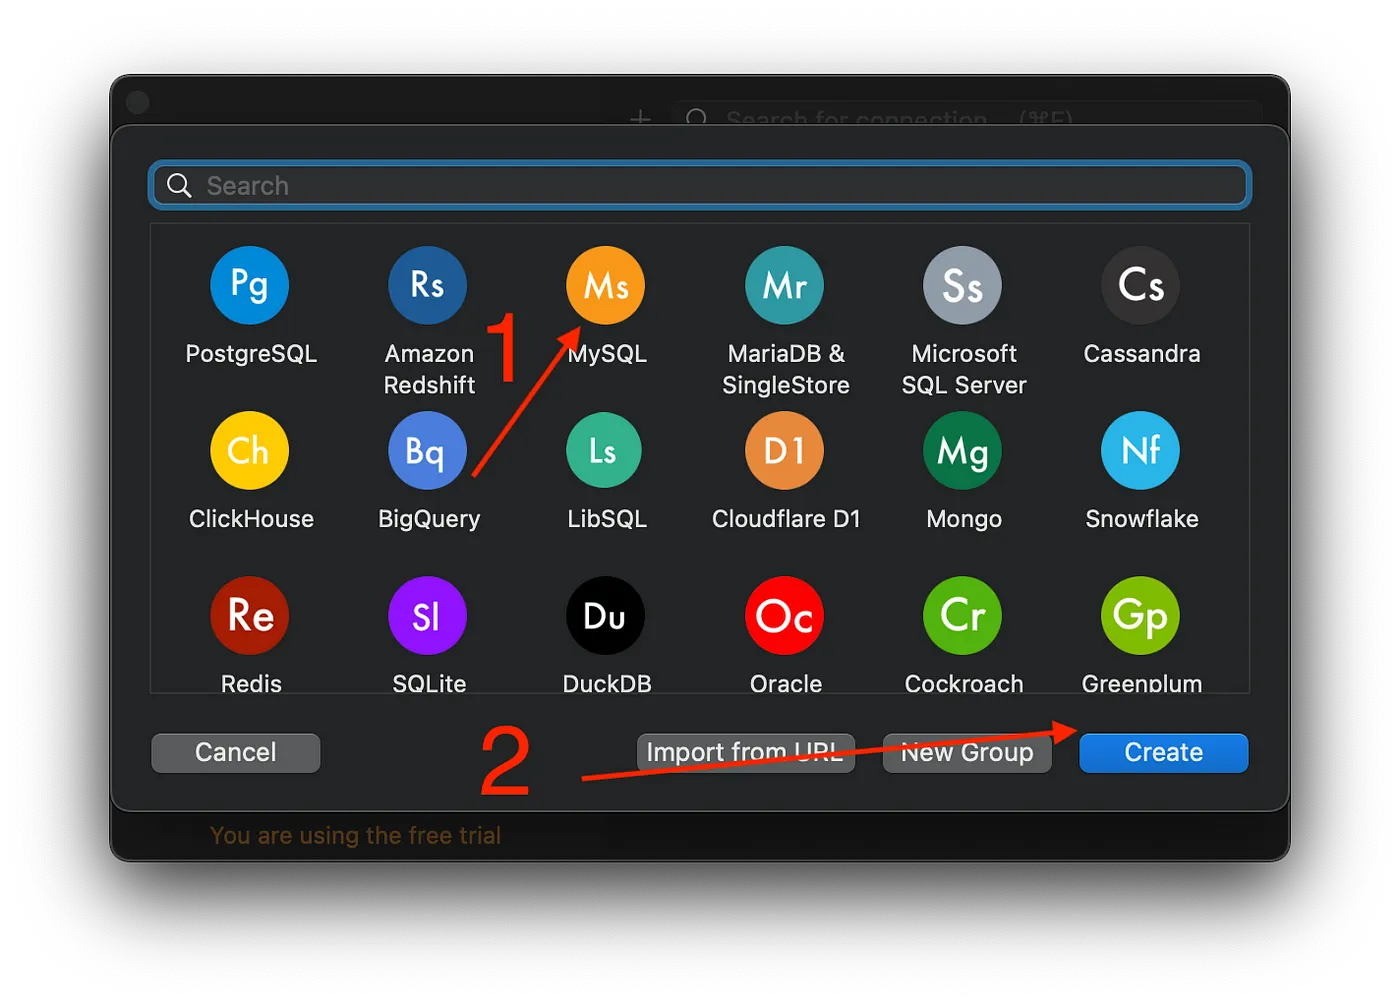 Select MySQL and Create
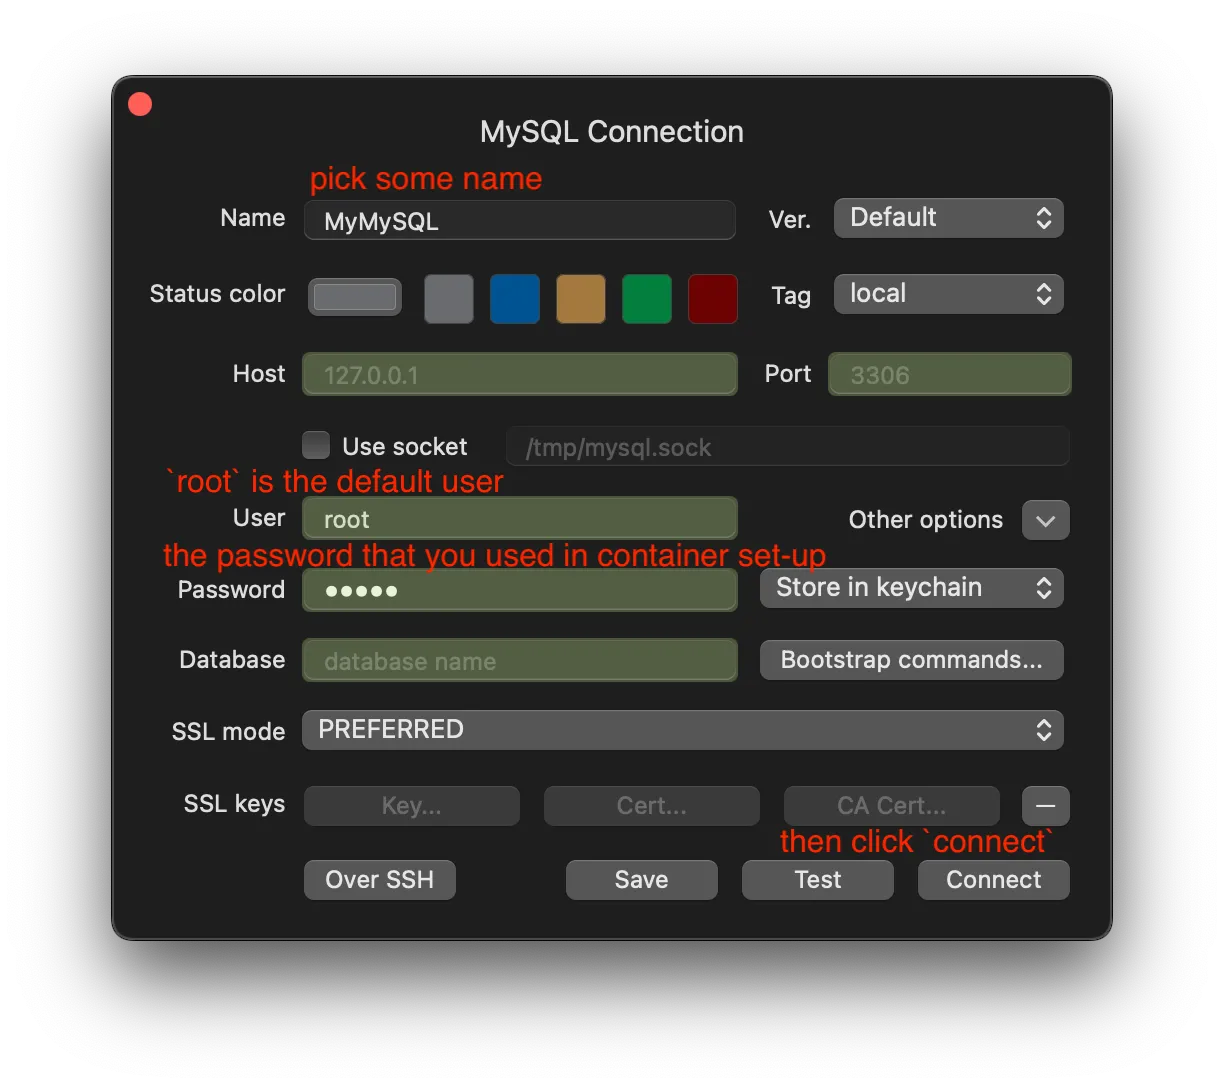 Fill the form
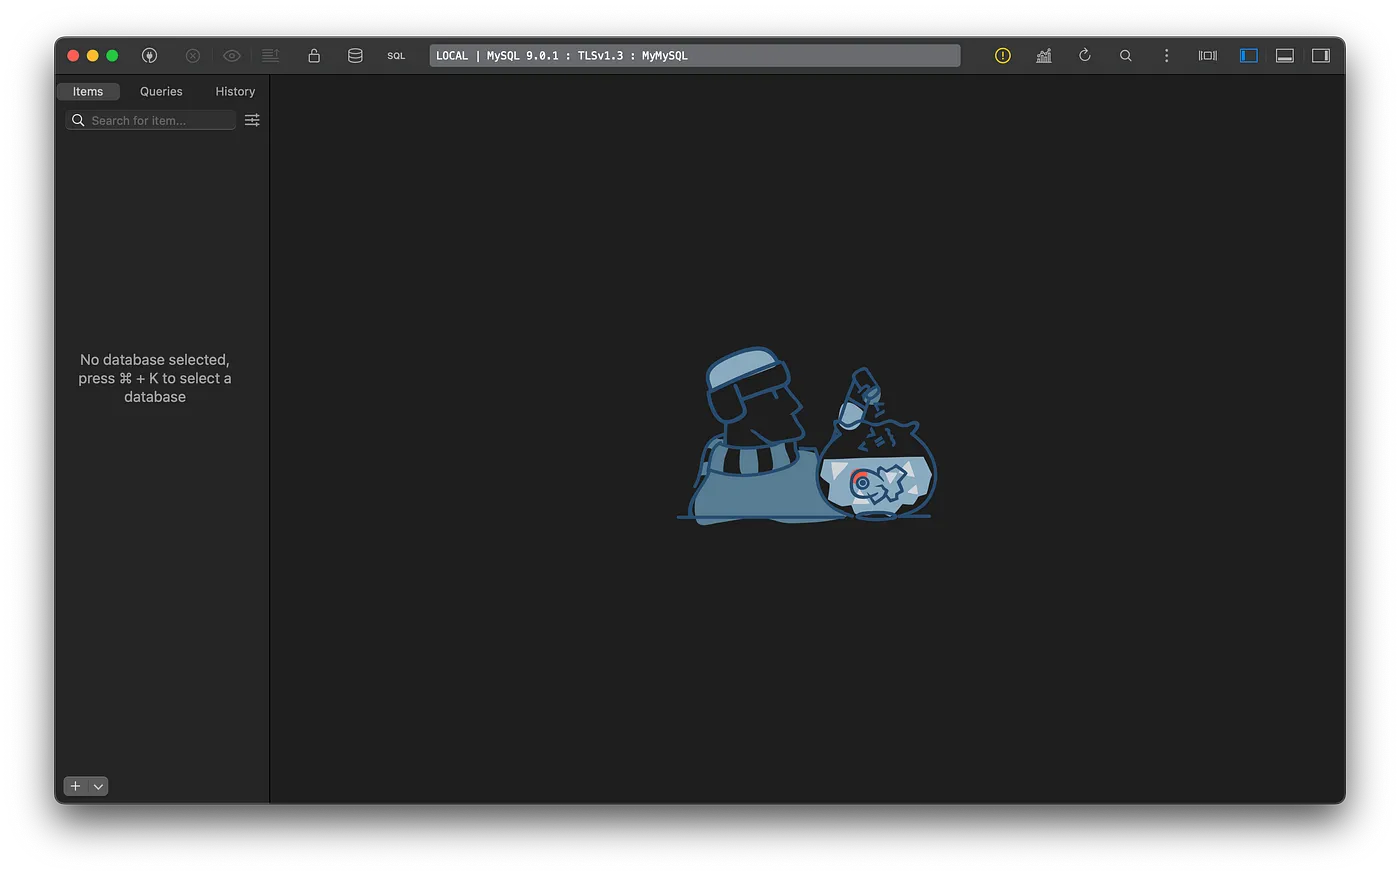 Enjoy!
Now you can manage your database in a demure way! (how to use TablePlus tutorial probably coming soon)
One more thing: how to close the docker container that is running in the background?
docker ps → check running containers
docker kill <container_name_goes_here> → kill it
OK, now it is dead. How do I resurrect it?
docker ps -a → to see all of the containers
docker start <container_name_goes_here> → to run the already created container
You’re welcome btw.